What I'm going to give away is a connected motifs shawl.

This pattern is one of my favorites. I introduced the pattern in the last post, Double infinity scarf. If you would like to use the pattern in your project, you can get there.
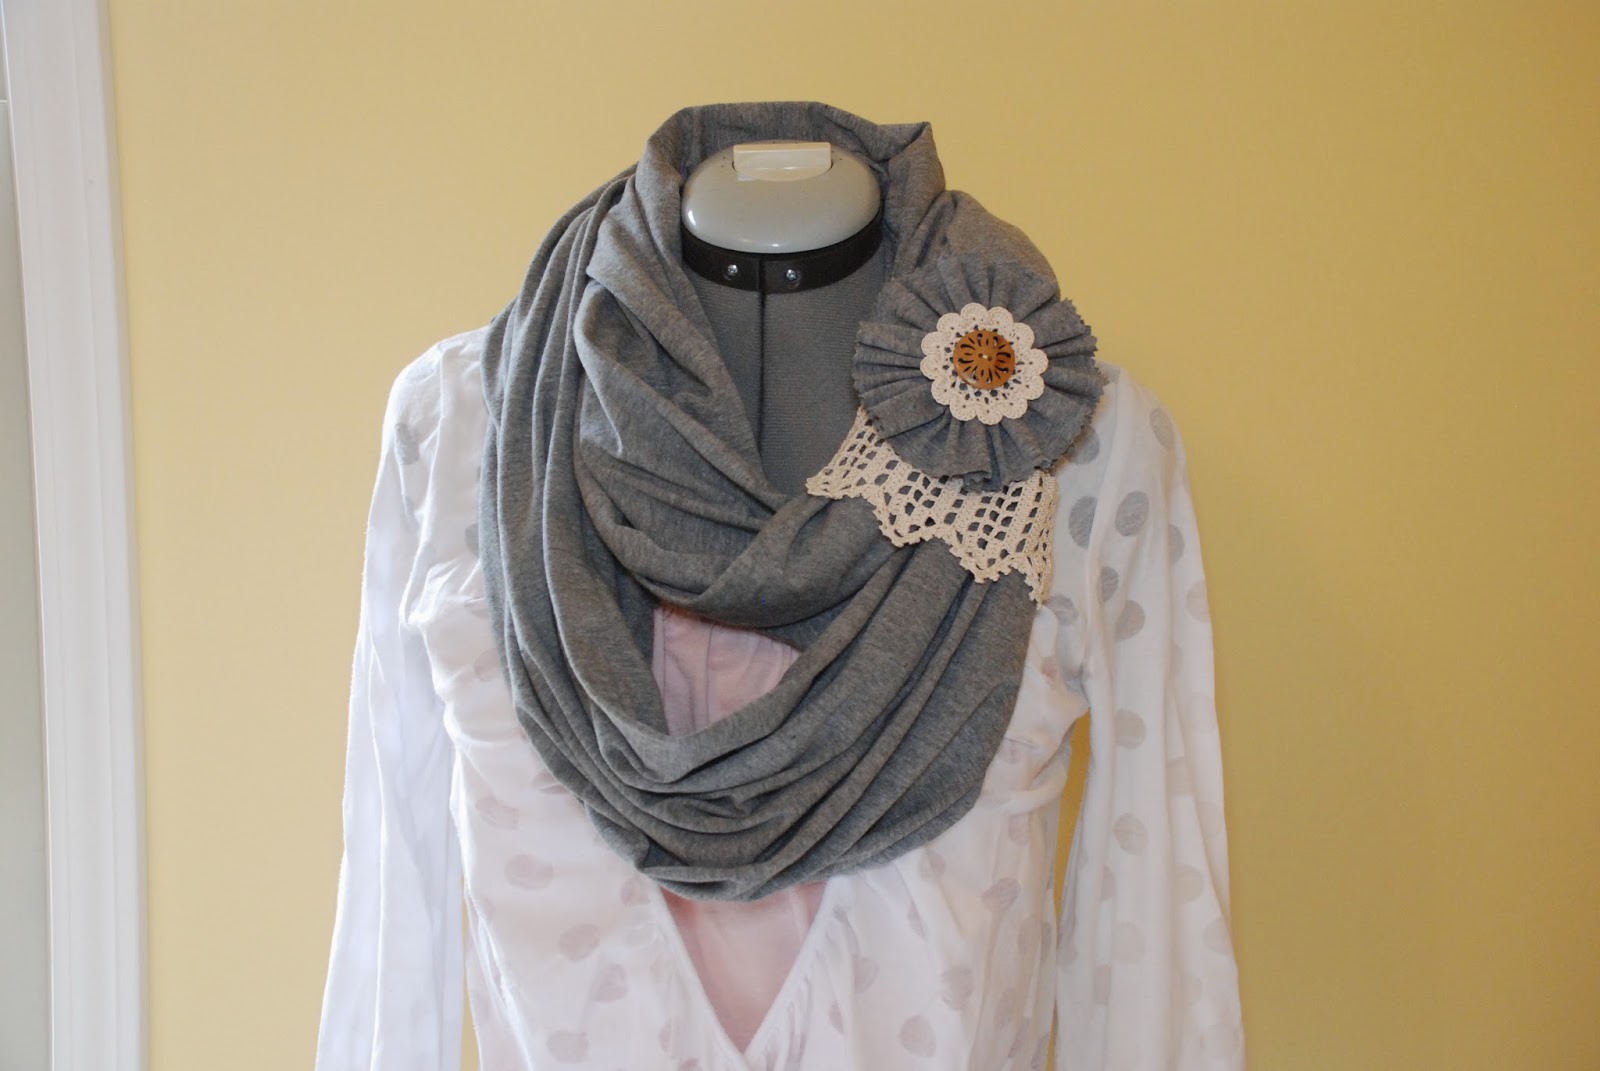
This time, I just made a simple shawl with yarn, but it's useful. If you have a scarf pin or attach buttons on the scarf, you can enjoy it in many different ways. Here are three ways to wear the scarf:
1. As a shawl


2. As a cape


3. As a scarf

This yarn is made with 80% acrylic, 10% mohair and 10% wool. Wool sometimes causes my neck to itch, but this yarn doesn't bother me at all. It's very soft and has a nice texture. I choose Ivory color to match with any fashion style. The scarf size is 80" x 16".
How to enter the giveaway
1. You must be a NeIro fan. If you are not a fan yet, please visit my facebook page, and click on "like".
2. You must leave a comment; I want it! If you don't leave a comment, you won't be added to the drawing. Do not leave your comment on this blog. Please visit here to enter.
Only one entry per person. Multiple comments will not increase your chance of winning.
3. You should be able to contact me in English or Japanese, if you are the winner.
4. Enter the giveaway by Dec 20th. I'll draw a winner on Dec 21st, and will contact the winner.